In the age of digital transformation, the way we travel has undergone significant changes. Traditional modes of transportation have evolved, giving rise to innovative solutions that cater to the modern commuter's needs. Among these, ridesharing platforms have gained immense popularity, offering a convenient, cost-effective, and eco-friendly alternative to conventional travel methods. BlaBlaCar, a leading ridesharing service, has set the benchmark in this domain by connecting drivers with passengers heading in the same direction.
If you're an entrepreneur or a tech enthusiast inspired by the success of BlaBlaCar and interested in creating your own ride sharing platform, you're in the right place. This guide will walk you through the essential steps and considerations involved in building a BlaBlaCar clone. From understanding the market dynamics to implementing key features and ensuring user safety, we’ll cover everything you need to know to launch a successful ridesharing service. So, buckle up and get ready to embark on the journey of creating your own ride sharing platform!
Understanding the Ridesharing Market
Before diving into development, it's crucial to understand the ridesharing market. Research your target audience, identify the key pain points, and analyze your competition. Understanding what makes BlaBlaCar successful will help you replicate its strengths and improve upon its weaknesses.
Key Features of a BlaBlaCar Clone
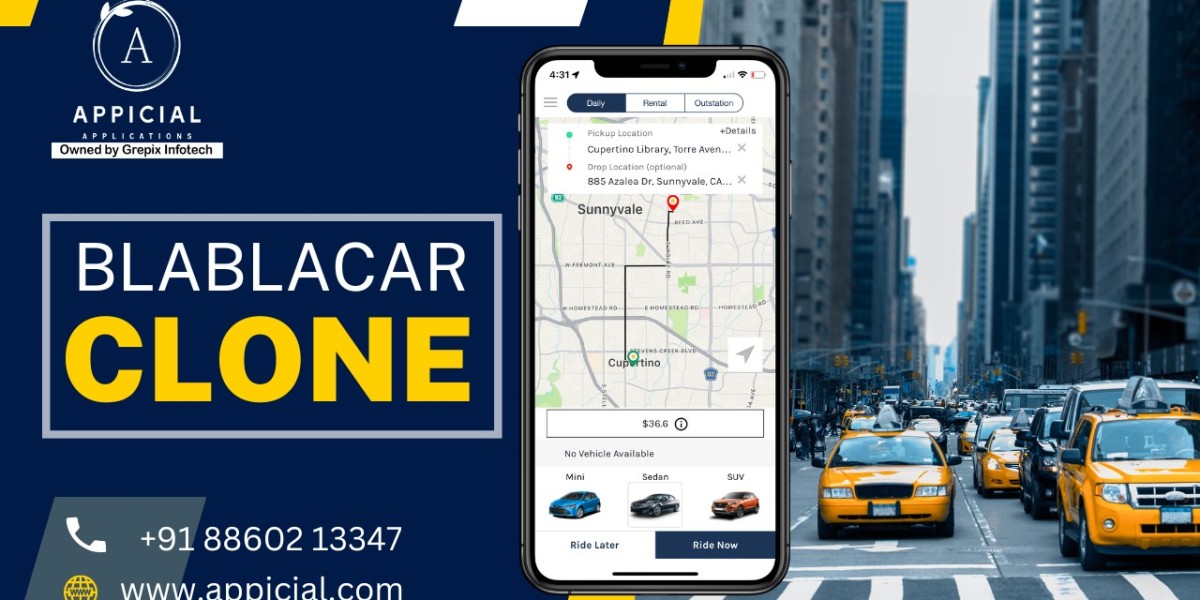
To create a successful BlaBlaCar clone, your platform must include several essential features:
- User Registration and Profiles
- Sign-Up/Login: Easy registration process using email, phone number, or social media accounts.
- User Profiles: Comprehensive profiles for both drivers and passengers, including photos, bio, and ratings.
- Ride Listings
- Post a Ride: Allow drivers to post details of their journey, including departure and destination points, date, time, and available seats.
- Search and Filters: Enable passengers to search for rides based on their preferences (e.g., date, time, departure, and destination).
- Booking and Payments
- Booking System: Seamless booking process with instant confirmation.
- Payment Integration: Secure payment gateways to handle transactions within the app.
- Communication Tools
- In-App Messaging: Allow drivers and passengers to communicate directly through the app.
- Notifications: Send real-time notifications for ride confirmations, updates, and reminders.
- Ratings and Reviews
- Feedback System: Enable users to rate and review each other, fostering trust and reliability within the community.
- Safety and Trust
- Verification: Verify users through various means such as email, phone number, and social media profiles.
- Insurance: Provide information on insurance policies and safety measures to ensure user peace of mind.
Development Process
- Planning and Research
- Define your business model and revenue streams (e.g., commission on rides, subscription fees).
- Create a detailed project plan outlining features, timelines, and budget.
- Design and Prototyping
- Work on the UI/UX design to ensure a user-friendly experience.
- Create wireframes and prototypes to visualize the app’s layout and functionality.
- Choosing the Right Technology Stack
- Front-End: Use frameworks like React Native or Flutter for cross-platform development.
- Back-End: Opt for robust back-end technologies such as Node.js, Ruby on Rails, or Django.
- Database: Choose a scalable database like PostgreSQL or MongoDB.
- Payment Gateway: Integrate with reliable payment processors like Stripe, PayPal, or Braintree.
- Development and Testing
- Development: Build the app in iterations, starting with the most critical features.
- Testing: Conduct thorough testing (unit tests, integration tests, user acceptance tests) to ensure the app is bug-free and performs well.
- Launch and Marketing
- Launch: Deploy your app on app stores and monitor its performance.
- Marketing: Promote your platform through various channels (social media, SEO, paid ads) to attract users.
- Maintenance and Updates
- Regularly update the app with new features and improvements based on user feedback.
- Ensure ongoing maintenance to fix any issues and keep the app running smoothly.
Conclusion
Creating your own ride sharing platform, inspired by the success of BlaBlaCar, is a venture filled with opportunities and challenges. By thoroughly understanding the market, integrating essential features, and adopting a meticulous development approach, you can craft a service that meets the needs of modern commuters. A successful ridesharing platform not only requires a robust technical foundation but also a commitment to user safety, convenience, and trust.
As you embark on this journey, remember that continuous improvement and adaptation are key. Listen to your users, stay updated with industry trends, and be ready to innovate. With dedication and strategic planning, your ride sharing platform can become a prominent player in the transportation industry, offering a reliable and efficient solution for travelers.
Whether you're aiming to create a community-centric service or a large-scale commercial platform, the steps outlined in this guide provide a comprehensive roadmap. Now, it's time to put your plans into action and drive forward the future of shared mobility. Good luck, and happy building!