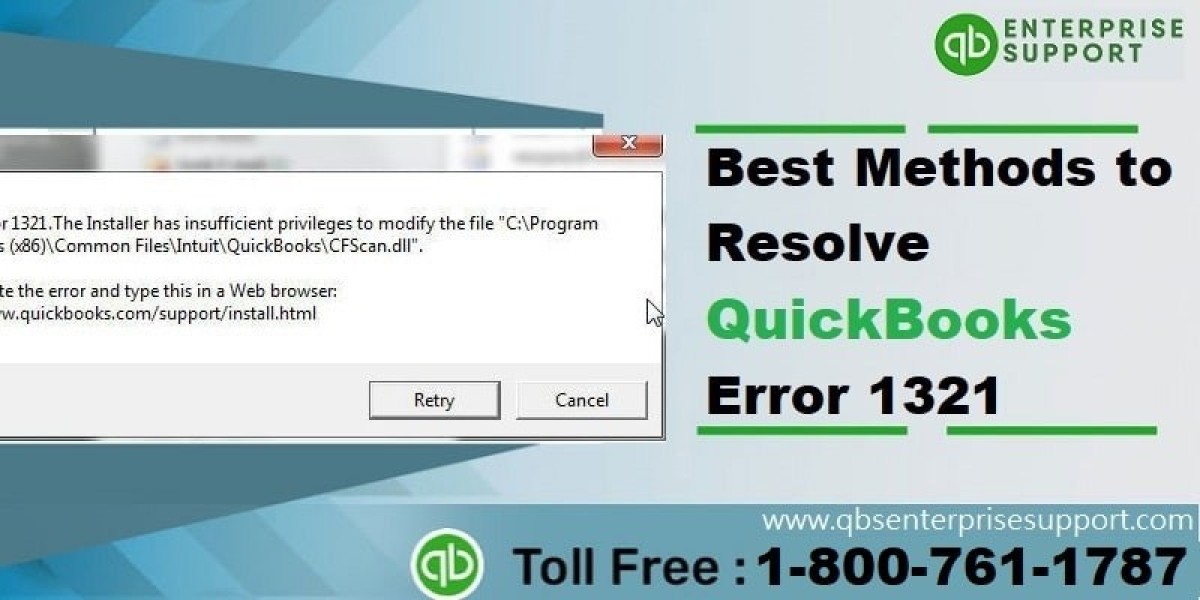
Are you facing QuickBooks error 1321? If yes, then need not to worry, as today in this blog we will be discussing about the causes and the solutions of the error. This error generally occurs when the user tries to connect to the company file. For immediate assistance in order to fix QuickBooks error code 1321, the users can get in touch with our technical support team, by dialing our toll-free number.
What are the Causes of the QuickBooks error 1321
- If the file update method might be quicker than the file copy process.
- In case the antivirus or security software is clashing with or obstructing QuickBooks.
- Also, if the Windows permits the folder including the file are set to restrict way.
- If the file referenced in the error is in use or gets damaged.
How to resolve the QuickBooks error code 1321?
In order to rectify the QuickBooks error code 1321, go with the following steps:
Create a new user account having admin privilege
- The first step is to tap on the start button.
- After that, the user is required to tick on Control Panel and after that choose users/accounts
- Now, select the new user option.
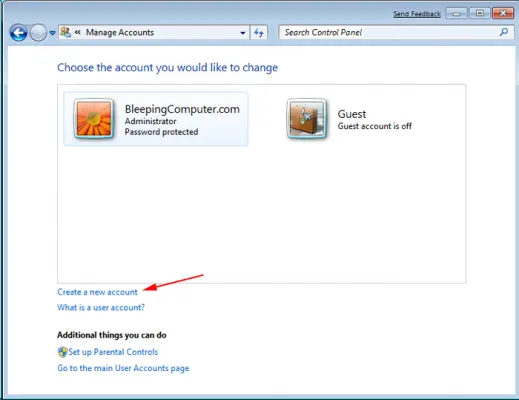
- Moving ahead, the user needs to provide a name to the account and ensure that it is set as an admin.
- The next step is to perform creating an account by agreeing on the create account option.
- The last step is to log out of the account that is being used at the present moment.
Edit the Windows permissions on the folder
- On your keyboard, you need to press Windows + R keys to open Run box.
- After that enter the path for the folder containing the QB program files in the Open field, and press the Enter key:
32-bit versions of Windows (10, 8, 7)
Desktop Enterprise
- C:\Program Files\Intuit\Enterprise Solutions 20.0
- C:\Program Files\Intuit\Enterprise Solutions 19.0
- C:\Program Files\Intuit\Enterprise Solutions 18.0
- C:\Program Files\Intuit\Enterprise Solutions 20.0
- C:\Program Files\Intuit\Enterprise Solutions 19.0
- C:\Program Files\Intuit\Enterprise Solutions 18.0
Pro and Premier
- C:\Program Files\Intuit\QuickBooks 2020
- C:\Program Files\Intuit\QuickBooks 2019
- C:\Program Files\Intuit\QuickBooks 2018
64-bit versions of Windows (10, 8, 7)
Desktop Enterprise
- C:\Program Files (x86)\Intuit\Enterprise Solutions 20.0
- C:\Program Files (x86)\Intuit\Enterprise Solutions 19.0
- C:\Program Files (x86)\Intuit\Enterprise Solutions 18.0
- C:\Program Files (x86)\Intuit\Enterprise Solutions 20.0
- C:\Program Files (x86)\Intuit\Enterprise Solutions 19.0
- C:\Program Files (x86)\Intuit\Enterprise Solutions 18.0
Pro and Premier
- C:\Program Files (x86)\Intuit\QuickBooks 2020
- C:\Program Files (x86)\Intuit\QuickBooks 2019
- C:\Program Files (x86)\Intuit\QuickBooks 2018
- In the new window, you need to select View and then select Customize this folder.
- Now in the Properties window, move to Security tab.
- On the Security tab, hit a click on Administrators.
- In the next step, select the Allow checkbox next to Full Control.
- Now select the SYSTEM user, on the Security tab.
- Moving ahead, you need to select the Allow checkbox next to Full Control.
- And then hit a click on OK to close the Properties window.
- Lastly, Install your QuickBooks desktop.