When faced with a situation where a tooth has been damaged or chipped, home tooth filling can serve as a quick and temporary solution to prevent further damage or discomfort. While it is not a replacement for professional dental care, it can be a helpful interim measure to manage unexpected dental issues until you can reach a dentist. It is crucial to note that home tooth filling is not a permanent fix and should be seen as a short-term solution until you can consult a dental professional for proper treatment.
Assessing the Feasibility of Home Tooth Filling
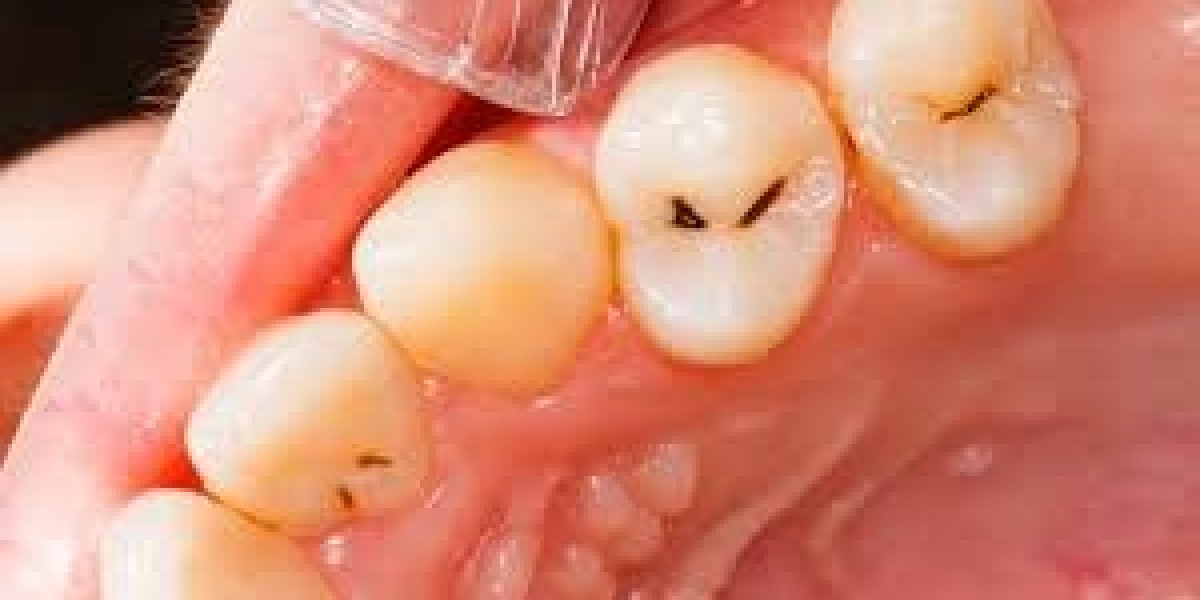
Before initiating the home tooth filling process, it is imperative to assess the severity of the dental issue. If the damage is extensive or if you are experiencing severe pain, it is crucial to seek immediate professional dental care. However, if the damage is minor, and you are equipped with the necessary materials and knowledge, you can proceed with the home tooth filling process under the following careful guidance.
Step-by-Step Guide to Home Tooth Filling
Step 1: Preparation
Begin by thoroughly cleaning the affected area with a toothbrush and mild toothpaste. Ensure that the area is free from any debris or bacteria that could potentially interfere with the filling process.
Step 2: Gather Necessary Supplies
Gather the required materials, including dental filling cement, a dental pick, dental mirror, and cotton swabs. These tools are essential for ensuring a smooth and effective filling application.
Step 3: Application
Carefully apply the dental filling cement to the damaged area using the dental pick. Ensure that the cement is applied evenly and covers the entire affected surface. Use the dental mirror to aid in reaching difficult spots and to ensure the accuracy of the application.
Step 4: Smoothing and Shaping
Once the filling cement has been applied, use a cotton swab to gently smooth and shape the filling to match the natural contour of the tooth. This step is crucial in ensuring a comfortable fit and preventing any unnecessary discomfort.
Step 5: Curing and Setting
Allow the filling to cure and set as per the instructions provided with the dental filling cement. This step ensures that the filling adheres firmly to the tooth surface and provides long-lasting protection.
Precautions and Post-Filling Care
After the home tooth filling process, it is essential to follow specific precautions and care guidelines to ensure the longevity and effectiveness of the filling. Avoid consuming extremely hot or cold foods immediately after the procedure, and maintain good oral hygiene by regular brushing and flossing. Additionally, be vigilant for any signs of discomfort or further damage, and seek professional dental care if any issues persist or worsen.
When to Seek Professional Dental Care
While home tooth filling can be a temporary solution, it is essential to recognize its limitations. If you experience persistent pain, swelling, or any adverse reactions after the home tooth filling, it is crucial to consult a dentist immediately. Professional dental care ensures a thorough assessment and appropriate treatment, preventing any potential complications or further damage to your dental health.
Conclusion
In conclusion, the home tooth filling method can serve as an immediate solution for minor dental issues, providing temporary relief until you can seek professional dental care. By following the step-by-step guide and adhering to the precautions and post-filling care, you can effectively manage minor dental problems at home. However, always prioritize professional dental advice and care to ensure the long-term health and well-being of your teeth and gums.